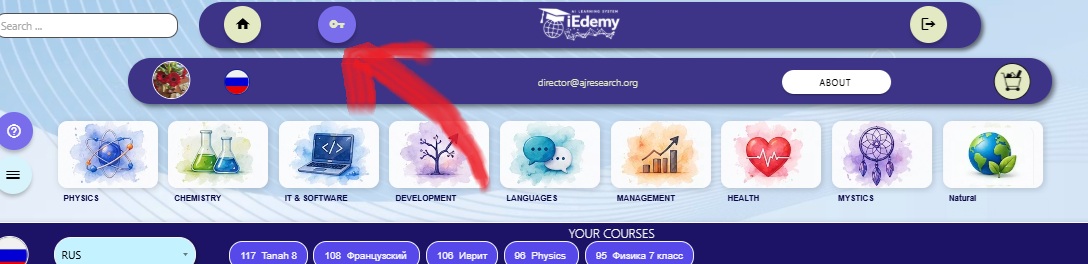



Starting Teacher Registration
The registration start button is located at the bottom left of iedemy.net before registration or authorization.
To register as a teacher, use an email address that has not previously been registered as a system user. This lets you have two different accounts with two different email addresses: one as a learner and one as a teacher. This approach gives you more flexibility.
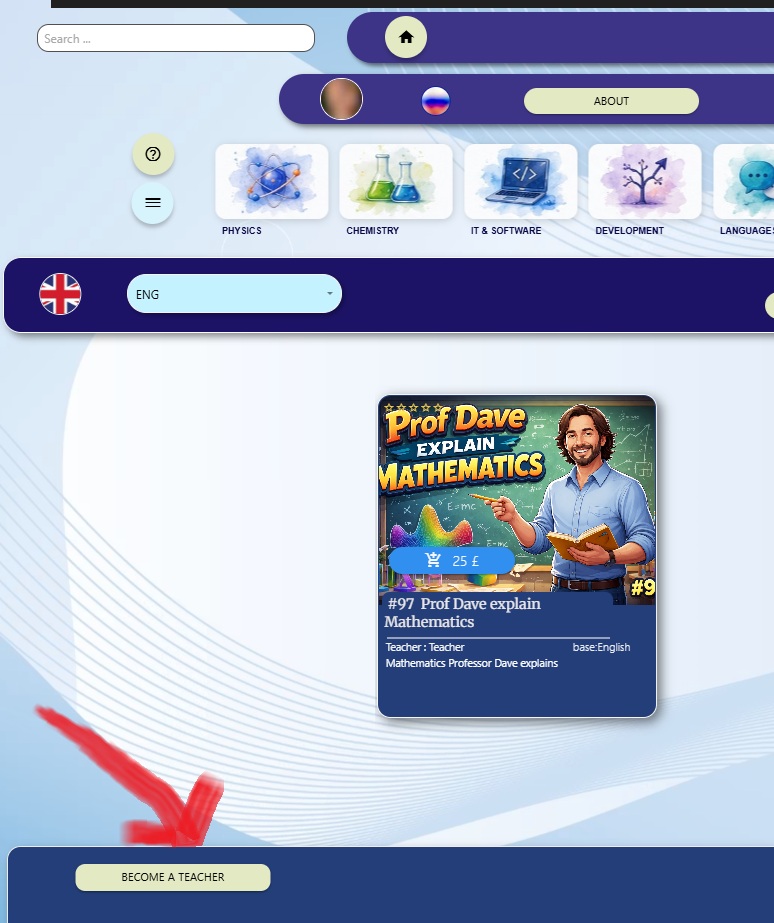
After clicking BECOME TEACHER, the registration process begins.
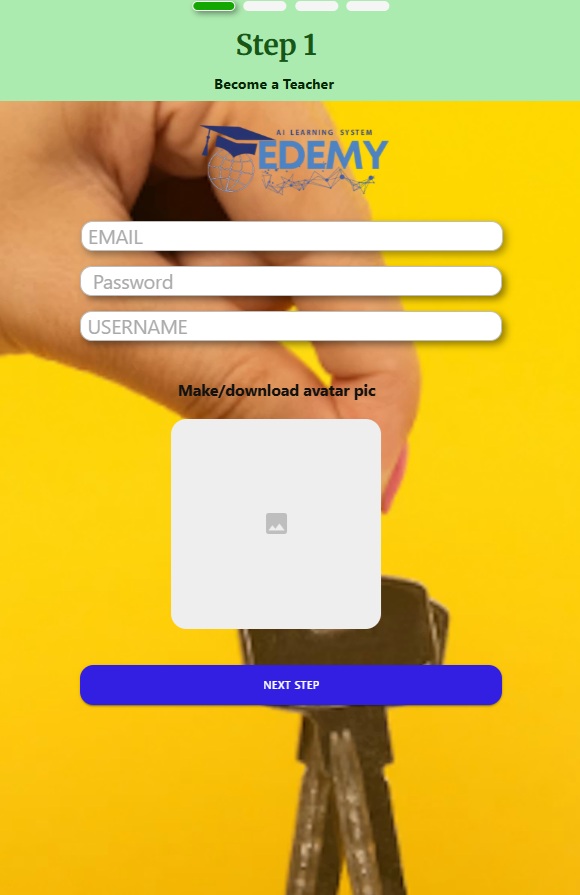
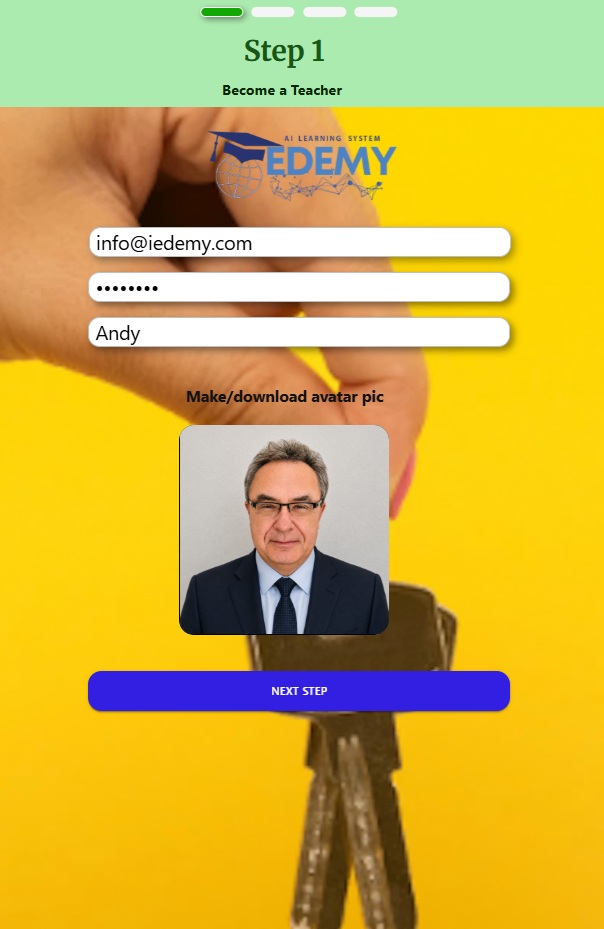
Step 1. Avatar and Username
At the top you can see first an empty form and then an example of a completed Step 1 form. On this page, it is enough to upload your avatar and enter a username that will be visible to all course users.
After filling in the form, click NEXT STEP.
Step 2. Teacher Personal Data
You move to the second step of teacher registration. Here you need to enter your real data, which will not be available to service users. It will be available only to responsible service employees who are not allowed to disclose this information and have signed a personal data confidentiality agreement.
As a teacher, you will be able to earn money from your courses, including receiving payments to your bank account. This is why we ask you to add your name, photo and signature for reliable identification when funds are transferred to your account.
The form also asks for your country of residence and the main language for your courses. These details are used to determine the price and currency of your course. If the base language of the course is different, you can change it later in the course settings.
After entering the data, click NEXT STEP to move to the next screen.
Note: if you have not entered the previous data from top to bottom, you will not see the NEXT STEP button.


Email Confirmation
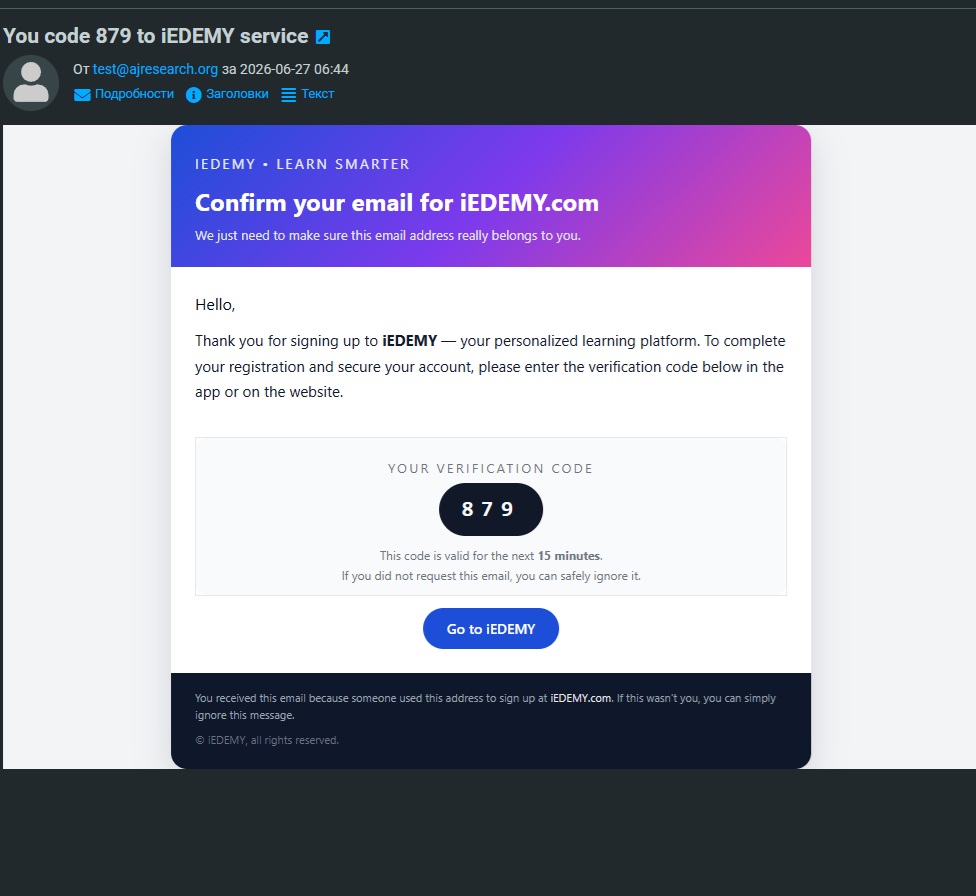
Immediately after moving to the next page, open the email address you entered in Step 1. A message with a confirmation code was sent to this email address.
Open the message and find the authorization code that must be entered in the next step.
In this example, the code is 879, and it must be entered in the next form.
Step 3. Authorization Code and Agreement
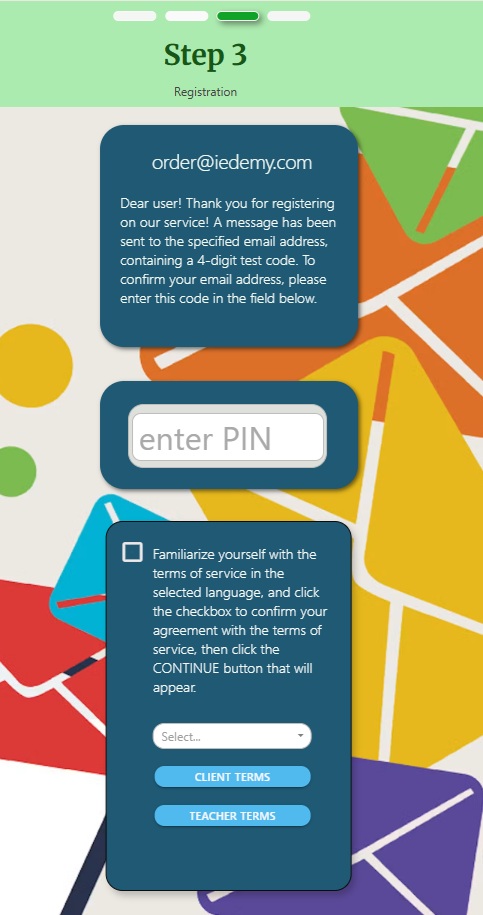
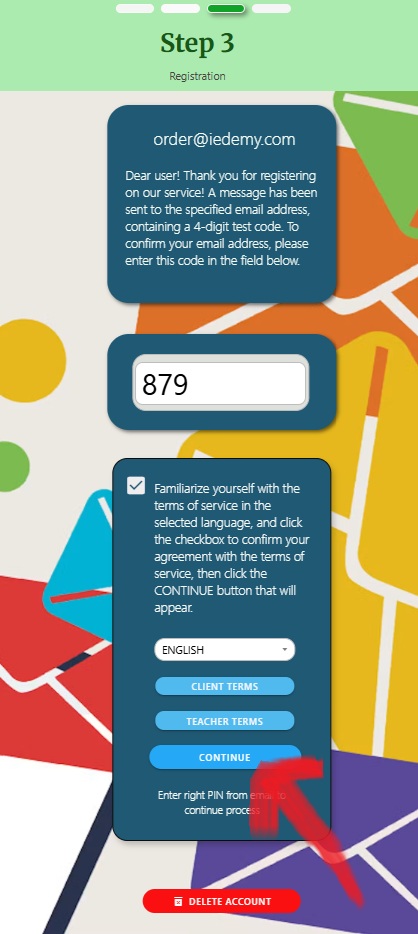
In Step 3, enter the authorization code received by email. On this page you can review the agreement you sign with the service when becoming a teacher.
Click the consent checkbox only if you have fully read and agree with the agreement. You enter into a contractual relationship because the service will receive funds for the published course and transfer your money to your bank account.
If the code is correct and you confirm the agreement by checking the box, the CONTINUE button opens to continue registration.
If you do not agree with the agreement, contact us by email at support@iedemy.com. Here you can also completely close your teacher account by clicking DELETE ACCOUNT.
Opening Teacher HUB
If everything is correct, the TEACHER HUB panel opens immediately. It groups the controls for managing and creating your courses.
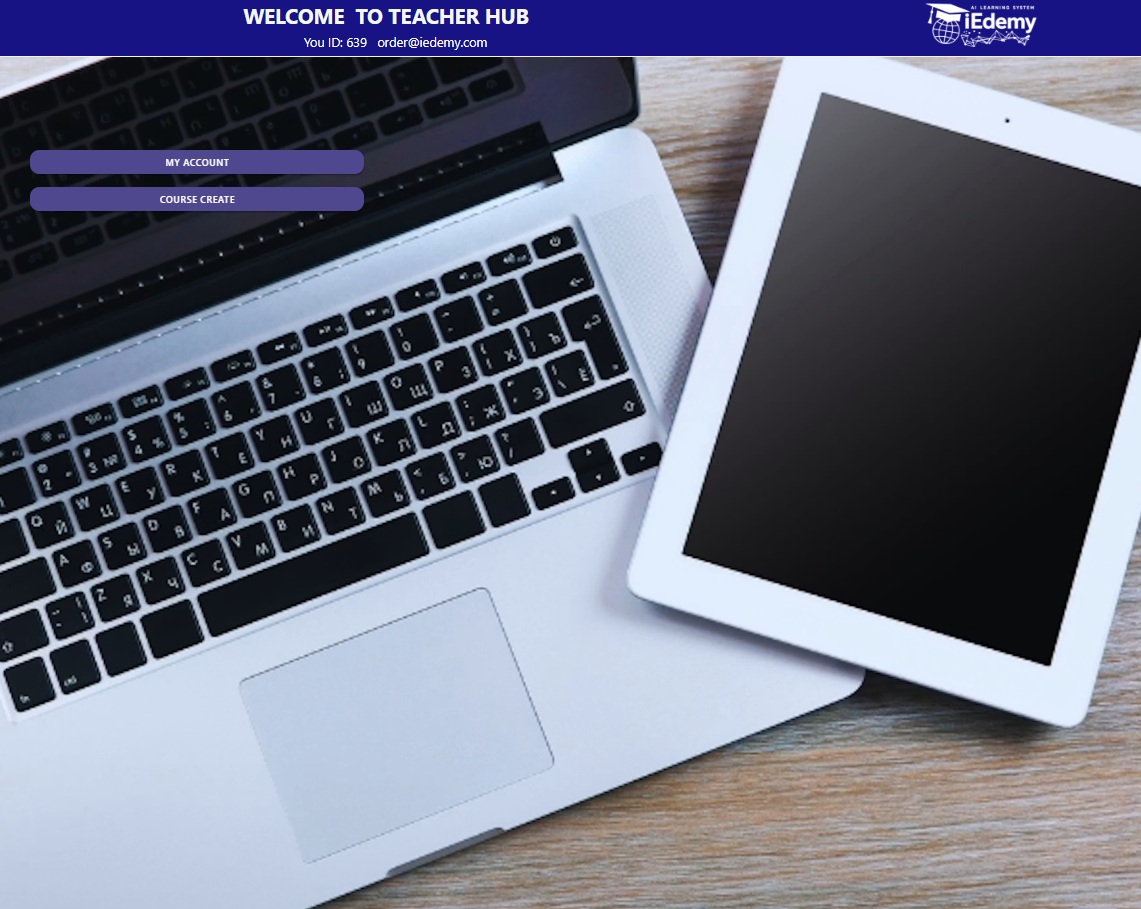
By clicking MY ACCOUNT, you can open your personal data card. To receive funds, fill in your bank account details and other required information.
The AURUM button lets you enter your account in the AURUM payment system built into the service.
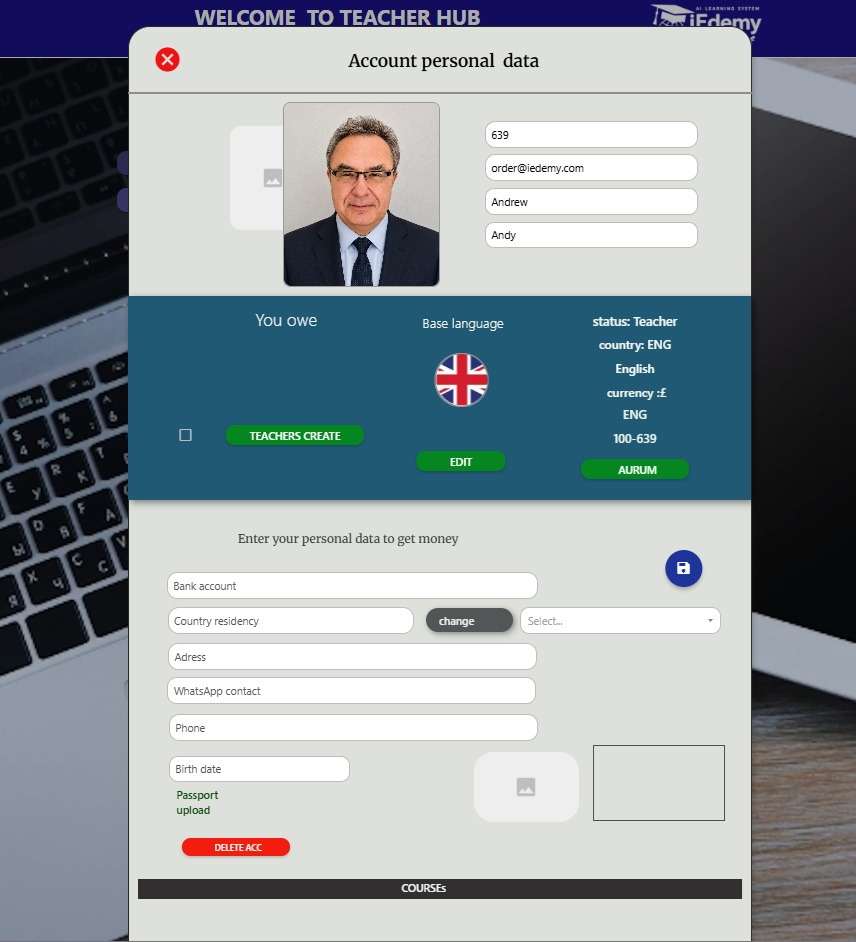
Teacher Access Is Ready
At this point, teacher access rights have been granted. Now, when you enter your login email and the password you set earlier, you will see a key button. Clicking it takes you to TEACHER HUB whenever you enter the service.
To start creating a course, click CREATE COURSE.